


Sunday Light Baking – and My Favorite Daily Soft White Bread Recipe

Baking Diary – Log 6 – 07.05.2012
Today I will bake my Daily White Bread – a revision of the Amish White Bread, a very popular bread recipe on allrecipes.com. Here is the link to the original with more than 2000 positive reviews.

Stuffed with Cranberry
It is super duper easy bread for beginner of bread baking, yet it is very yummy and versatile. It was the first bread recipe I tried to bake a long time ago and still now ranks very high in my recipe collection. 🙂
Here is my version.
—————————————
Ingredient
(for one regular freeform loaf, one 10x10x20cm Pull-man loaf, or 12 regular buns)

Ingredients needed
390g bread flour
235g warm water/ milk (Note: milk will increase the flavor and the smell, but decrease the shelf life, your choice)
1 ½ tsp. salt
50g sugar
28g soft butter, room temperature (Note: can be replaced by canola oil if you are in a hurry, but beware that oil cannot be as flavorful as butter)
12g fresh yeast (Note: I always prefer using fresh yeast in my baking, detail why can be found here in my previous post about Banh Mi, if you don’t have it in hand, use 6g dry yeast or 4g instant yeast)
Instruction
Step 1: Dumb everything above into a big mixing bowl. I can do that because I use fresh yeast; I can just crumble it all over and start mixing. YAY, fresh yeast! If you use other type of yeast, activate it correctly according the manufacturer and process with other ingredients.

Just dump everthing in if using fresh yeast
Step 2:Start mixing on low speed for about 2 minutes until you achieve a cohesive mass, like this.

A sticky dough mass
My revised recipe has the hydration of 60% rather than 57% in the original recipe, so it will feel a little wet and sticky. But it is all right, the higher hydration make the bread moister and softer.
Step 3: Increase the speed to medium. Mix for 7 minutes until the dough comes together, and starts slapping on the bowl’s wall.

After kneading for 7 minutes
The gluten development should be on stage 3, meaning the dough can be stretched out to very thin sheet without being tore. Like this.

Sufficient gluten development
Step 4: form your dough into a ball, put it in a lightly oiled bowl. Like below.

Before bulk fermentation
Step 5: Now let it bulk ferments for approximately 1 hour, or until double in size. Like this.

After 1 hour bulk fermentation
Step 6: Flit it out onto a clean counter. Punch and stretch it out by hand, into a large rectangle of about 30x20cm.

Spread it out into a rectangcle for the 1st time
Roll it up into a big cylinder.

Roll it into a cylinder for the 1st time
Step 7: Stretch the tube out again into another rectangle of 40x20cm.
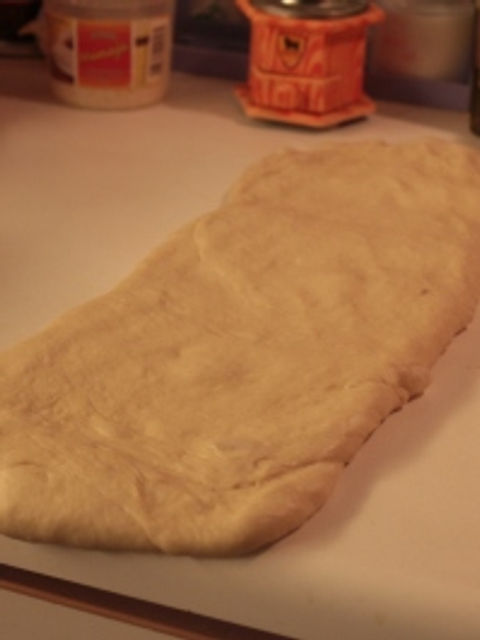
Spread it out into a rectangle for the 2nd time
And roll into a big, tight cylinder with length of 20cm.

Roll it tighly for the 2nd time
Step 8: Put it in the greased bread pan, and in my case, a grease Pullman pan, even the dough into every corner of the pan.

Even it out in the pan
Step 9: Preheat your oven to 175 degree Celsius (for freeform loaf pan, and buns), to 200 degree for Pullman pan, and my aluminum pan require 220 degree but maybe it is just me. Let the dough rise in the pan (with plastic covered or lid closed) for about 30 minutes, or until almost double in size again. Mine is perfect when the dough rises to about 2cm from the lid. Like in this pic.

After 30′ final rise
Step 10: wash your bread or buns top with egg yolk. Do not apply this step for Pullman bread.
Step 11: Put the loaf into in oven, arrange the rack to make sure that your loaf distances to the top and the bottom of the oven is equal, mine is on the lowest rack. Bake for 30 minutes. If your loaf top brown too quickly in the oven, get it out and cover the top with aluminum foil, put it back in the oven and continue baking until the sides become golden, too. Mine is baked at 220 degree for 35 minutes. 🙂
Step 12: After the loaf or buns are beautifully baked. Get it out of the oven, let it cool down for 10 minutes, then flip it out of the pan, and let it cool down to just warm to touch.

My baked Pullman loaf
Slice it, toast it, and use it to make your favorite grilled cheese sandwiches, make French toast with a dash of cinnamon, or make bread pudding. Nom nom. The Pullman loaf sliced up real nice, except for the fact that my bread knife is a bit too dull now. 😛

It slices up real nice
I also used this recipe also to make egg custard filled buns, topped with coconut flakes.

Egg custard buns
Or sweet buns with pandan custard on top.

Pandan Custard Bun
Or those monkey bread with nice caramel sauce and roasted nut.

Monkey Bread
And here is the one loaf I baked in my clay pot.

Baked in Clay Pot
God, those are the softest, moistest bread I have ever tasted. I have been in love with baking on my clay pot then.

Crumb shot
Or just simply spice your daily loaves up by adding dried fruit, or nuts, or vegetables, meat or mayonnaise.

Egg-nest buns
There are hundreds more of uses for this one bread recipe. 🙂 Explore it yourself and come back to me, OK?
And I have successfully reorganized all my food related photos in the last year into sensible orders of 100 different dishes. 100 DIFFERENT DISHES!! Gladly, I did not count those that I have done twice or three or ten times, nor dishes that I forgot to take pictures, nor those that were failures. 100 dishes! Wow, I could write posts for this blog for more than 3 months, everyday, without even have to take more photos, or looking for new ideas. My God! I cooked and baked that much. Impressive. 🙂
Anyway, good night, guys!
Rose,
Updated: I submitted this to YeastSpotting. 🙂


Comments