


Green Beer and Soda Bread

While this blog is going a little overboard with the Irish lately (and this is coming from a guy named Patrick!!!), ’tis the season for it, so one more for the cooks preparing for St. Paddy’s day.
I started dating my wife six months before graduating college. Once we graduated she moved back to her hometown, Cleveland, and I to mine, Los Angeles. Over the ensuing months we continued to date long distance and less than five months after our separation, I proposed. She accepted my proposal and had already accepted entrance into graduate school at Miami University in Oxford, Ohio. As the program came with her serving as an assistant hall director, once she moved in, I packed my belongings and drove cross-country to move into a residence hall.
Miami had its ups and downs, as did the little town of Oxford. The town is so small that it is ultimately intertwined in the business of the University in almost every way. But come St. Patrick’s Day (actually the Thursday before it), an unusual tradition showed itself that I found difficult to believe the University has a hand in.
GREEN BEER DAY
The bars would open at 5AM and serve gallons and gallons of green beer. When we were there the price would start at $0.05 a cup and every 15 minutes would raise a nickel until eventually it became full price. A good number of students would stay up all night, have a breakfast of beer and go to class with green lips and tongues. It was quite a sight to see. This was, and still is a BIG deal there. I think I could use a Green Beer Day!
In an early trial for the Gourmet Club appetizer, I thought of serving Irish Soda Bread with a Guinness cheese fondue. The fondue was just OK, and while the soda bread was good, it really would not have worked with the fondue. It is much more of a dessert bread.
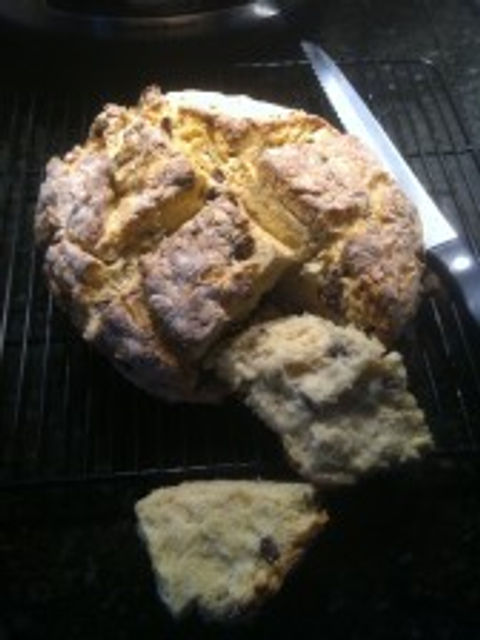
Irish soda bread
Ingredients:
4 to 4 1/2 cups flour
2 Tbsp sugar
1 teaspoon salt
1 teaspoon baking soda
4 Tbsp butter
1 cup raisins
1 large egg, lightly beaten
1 3/4 cups buttermilk
Directions:
1 Preheat oven to 425°. Whisk together 4 cups of flour, the sugar, salt, and baking soda into a large mixing bowl.
2 Using your (clean) fingers (or two knives or a pastry cutter), work the butter into the flour mixture until it resembles coarse meal, then add in the raisins.
3 Make a well in the center of the flour mixture. Add beaten egg and buttermilk to well and mix in with a wooden spoon until dough is too stiff to stir. Dust hands with a little flour, then gently knead dough in the bowl just long enough to form a rough ball. If the dough is too sticky to work with, add in a little more flour. Do not over-knead! Transfer dough to a lightly floured surface and shape into a round loaf. Note that the dough will be a little sticky, and quite shaggy (a little like a shortcake biscuit dough). You want to work it just enough so that the flour is just moistened and the dough just barely comes together. Shaggy is good. If you over-knead, the bread will end up tough.
4 Transfer dough to a large, lightly greased cast-iron skillet or a baking sheet (it will flatten out a bit in the pan or on the baking sheet). Using a serrated knife, score top of dough about an inch and a half deep in an “X” shape. The purpose of the scoring is to help heat get into the center of the dough while it cooks. Transfer to oven and bake until bread is golden and bottom sounds hollow when tapped, about 35-45 minutes. (If you use a cast iron pan, it may take a little longer as it takes longer for the pan to heat up than a baking sheet.) Check for doneness also by inserting a long, thin skewer into the center. If it comes out clean, it’s done.
Hint 1: If the top is getting too dark while baking, tent the bread with some aluminum foil.
Hint 2: If you use a cast iron skillet to cook the bread in the oven, be very careful when you take the pan out. It’s easy to forget that the handle is extremely hot. Cool the handle with an ice cube, or put a pot holder over it.
Remove pan or sheet from oven, let bread sit in the pan or on the sheet for 5-10 minutes, then remove to a rack to cool briefly. Serve bread warm, at room temperature, or sliced and toasted. Best when eaten warm and just baked.
Yield: Makes one loaf.

Comments