


From Shabby to Chic! Up-cycled Step Stool!

Hi friends! Let’s face it, I’m short. At least at 5’4″ I feel short when I am trying to reach some art supply I have stacked to the ceiling in my craft room! 😀 I decided I should stop risking my life standing on my rolling chair every time I needed to reach something and find a sturdy step stool. Turns out we still had a step stool from when the kids were little but it had seen better days…

…it was banged up and had some weird adhesive stickiness on the top from when one of my daughters covered it with fancy duct tape but I love projects like this because there is no place to go but up! Since I am extremely lazy I decided to wet-wipe that bad-boy down and slap on a coat of Heirloom Traditions chalk paint. Let me tell you chalk paint is the best thing to happen to a lazy crafter, just sayn. That is ALL I had to do to prepare this step stool for the stenciling, decoupaging and ink jet gel transfer techniques I will share with you in today’s video!
This is an easy project perfect for a beginner!
Supplies available at Heirloom Traditions Paint, save 10% with coupon code FRUGAL
White chalk paint in A la Mode– Heirloom Traditions Paint
Small dabs of artist acrylic (Alizarin Crimson, Yellow Ocher, Chrome Green)
Images to decoupage (old calendar)
Ink jet print from The Graphics Fairy
1Gel Transfer Medium/Decoupage Medium/Sealer
Spray way in burnt umber and clear-Heirloom Traditions Paint
Scissors
Paint brushes, sponges and rags

Directions:
Wipe down the stool with a damp rag and apply a coat of chalk paint. *You can apply another coat if need be.
Stencil on designs in colors that match your them. I was going for French country shabby chic.
Paint a layer of 1gel (gently with a soft brush) on your ink jet print and press it to the stool. Smooth it down and let dry for at least an hour.
Spray the ink jet paper with water and carefully rub away the paper.
Seal the stool with another coat of 1gel and while that is still wet add your collage elements. I cut up a pretty calendar I bought last year at the dollar store, it was perfect for this!
Add spray wax if desired.
Tips: You can sand back the colored wax if you got a bit carried away or if you want ti distress the piece. I found out later that a wet sponge or brush would have given me the look I was after. 🙂 When you decoupage be sure to add 1gel to the back of your paper as well as the surface you are applying to and them add a coat of 1gel on top for a perfect finish.
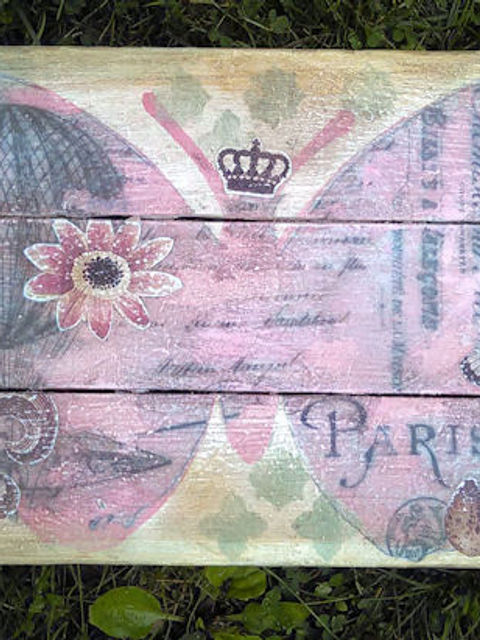
I hope you enjoyed this project and it inspired you to spruce up some old thing around your house! Thanks for stopping by and til next time happy crafting!


Comments